How to Start a Smart Home in One Room: A Practical Plan
· HomeTechPulse
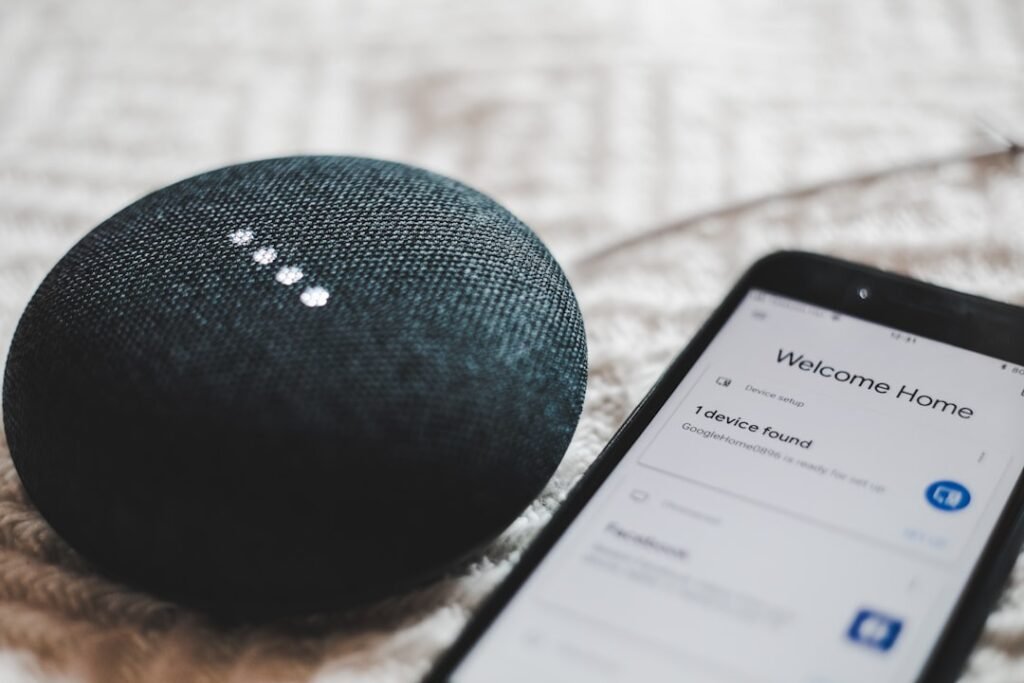
The best first smart-home project is a small inconvenience you can describe in a sentence. “I want to switch off the bedroom light without getting out of bed” is a useful starting point. “I want everything connected” leaves too many decisions unresolved.
Start with one room, one controllable device, and one routine. Keep a normal way to use the room while you learn what works. This guide offers a planning worksheet and a seven-day acceptance check; it is a project method, not a report of a product we tested.
1. Write the result before choosing a device
Fill in this sentence: When I _____, I want _____, while still being able to _____.
For example: “When I get into bed, I want to turn off the reading lamp, while still being able to use a nearby physical control.” The final clause matters. A feature that works only when one person's phone is charged may solve the original problem while introducing another.
Describe your first room with this worksheet:
| Question | Example answer | Your answer |
|---|---|---|
| Which room? | Bedroom | |
| What is inconvenient? | Getting up to switch off a lamp | |
| Who uses it? | Two adults with different bedtimes | |
| What should happen? | One deliberate command turns off that lamp | |
| What must stay usable? | A physical control beside the bed | |
| What is outside this project? | Ceiling wiring, cooling, and curtains | |
| What counts as success? | Either person can use it without help |
Keeping some things outside the project is useful. If your room contains a light and an air conditioner, you do not need to automate both together. Choose the job with the simplest supported setup first. Cooling equipment deserves its own compatibility check; this lamp-planning exercise is not a recommendation to attach a generic smart plug to an air conditioner.
2. List what you already have
Before shopping, record the exact model of any existing speaker, hub, controller, or smart device. A brand name alone is not enough for a compatibility decision. Keep the manufacturer's setup page beside each model entry so that you can check its requirements.
Also note who owns the relevant app account, who needs household access, where the device will live, and whether the normal control is easy to reach. You are documenting the room as people actually use it, including visitors and anyone who prefers a button to an app.
Do not assume a single compatibility badge answers every question. Matter is an IP-based interoperability standard, according to the Connectivity Standards Alliance, but you still need to confirm a product's network and setup requirements. Connectivity Standards Alliance: Matter
3. Compare complete setups
Make a short list of at most two ways to achieve the result. Compare everything each option needs, rather than only the device price.
| Item to compare | Option A | Option B |
|---|---|---|
| Exact device and supported control method | ||
| Any additional controller or bridge | ||
| Required app and account | ||
| Manual control available to everyone | ||
| Optional versus necessary subscription | ||
| Setup instructions located and understood | ||
| Return conditions checked |
Leave unknown entries marked “unverified.” An empty answer should not silently become “probably included.” If an option requires equipment you do not own, include that equipment in the comparison before deciding whether the project is worth doing.
This first-room plan assumes an ordinary consumer setup performed according to its instructions. If the chosen route requires altering fixed wiring, stop the planning exercise there and have a qualified installer assess it.
4. Start with a deliberate command
For the first routine, choose something a person intentionally requests: a button press, an app command, or a supported voice command. Avoid combining arrival detection, time rules, motion, and multiple devices on day one.
A helpful first routine has a small, predictable result. “Reading finished” could turn off one lamp. It should not also switch off every light in a shared room or change someone else's settings.
Give the device a name that describes its location and purpose, such as “Bedroom reading lamp.” Write that name on your room worksheet. If people keep confusing two controls, improve the names before adding more rules.
5. Use a seven-day acceptance check
The following is a suggested observation plan, not a requirement to run a long technical benchmark. Record what you actually see; do not fill in a pass because the app says the device is connected.
| Day | Check | Record |
|---|---|---|
| 1 | Use the normal command from the usual spot | Worked, failed, or unclear |
| 2 | Let another household member operate it | Where they needed help |
| 3 | Try the physical fallback | Whether it was easy to find |
| 4 | Use the room at a different time | Any unwanted behavior |
| 5 | Check account access and saved setup notes | Missing information |
| 6 | Ask whether the routine is actually useful | Keep, simplify, or remove |
| 7 | Repeat the original success condition | Ready to expand or needs work |
If you want to investigate internet-outage behavior, first read the equipment documentation and choose a safe maintenance window. You do not need to disrupt the household network just to complete this worksheet.
6. Expand only when the first job feels ordinary
Before adding another device, ask two questions: does the first routine save effort, and can someone else recover when it behaves unexpectedly? A “no” suggests a naming, control, or setup problem that more hardware will not necessarily solve.
Your next project can use the same worksheet. Pick a distinct inconvenience, decide who benefits, define the fallback, and set a visible success condition. Keeping a short record of these decisions makes later purchases easier to evaluate and prevents a growing collection of devices from becoming a collection of unfinished experiments.
Related guides
- Matter vs Thread vs Wi-Fi: A Smart Home Buying Checklist
- 5 Simple Smart Home Automations with Clear Stop Rules
Sources and method
The compatibility background references the Connectivity Standards Alliance's Matter overview, checked on 21 September 2026. The room worksheet and acceptance plan are HomeTechPulse editorial planning tools. Examples are illustrative; no product performance measurements or personal installation experiences are claimed.