How to Name Smart Home Devices: A System That Scales
· HomeTechPulse
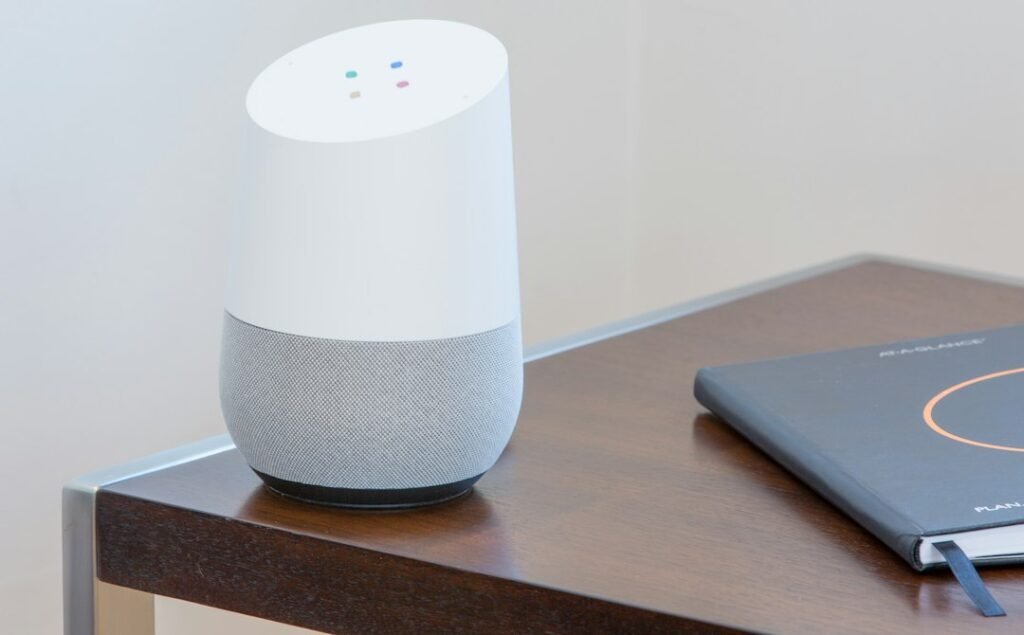
Smart-home names usually look fine when there are five devices. Problems appear later: three items are called “Lamp,” a plug still carries its factory model number, and an automation points to a room that no longer exists. A consistent smart home device naming system makes voice commands easier to remember, dashboards easier to scan, and troubleshooting less risky.
The goal is not to create the shortest possible names. It is to give every important device a stable identity that a person can understand without opening three apps.
Use three names for three different jobs
One label does not need to do everything. Separate the identity you keep in your records from the name shown in an app and the phrase people say aloud.
| Layer | Purpose | Example |
|---|---|---|
| Inventory identity | Stable reference for maintenance, ownership, and replacement | LR-LAMP-EAST-01 |
| Platform display name | Readable name in apps, dashboards, and automation editors | Living Room East Lamp |
| Spoken target | Natural phrase for household voice control | East Lamp |
Do not place passwords, recovery codes, account email addresses, or access codes in any device name or physical label. Names are often visible to household members, support staff, and connected services.
Choose one room vocabulary
Decide whether the space is “Living Room,” “Lounge,” or “Family Room,” then use that wording everywhere. Avoid creating both “Hall” and “Hallway” unless they are genuinely different locations. If the home has two floors, use floor names only where they resolve a real conflict.
Major platforms already use rooms or areas as a control layer. Google Home lets users rename supported devices and place connected devices in rooms. Apple’s Home app organizes accessories into rooms and can group rooms into zones for broader Siri commands. Home Assistant groups devices and entities into areas, and areas into floors. Those structures are useful, but their exact behavior is platform-specific.
Official references: Google’s device-name instructions, Google’s third-party device and room instructions, Apple’s guide to rooms and zones in Home, and Home Assistant’s area documentation.
A naming formula that survives growth
For the app-visible name, start with this formula:
[Room] + [specific function or position] + [device type]
Use only the parts needed to distinguish the device. “Kitchen Sink Leak Sensor” is useful because it states the location, hazard point, and type. “Kitchen Smart Wi-Fi Water Detector Model X” adds technology and marketing words that do not help the household.
| Avoid | Prefer | Why |
|---|---|---|
| Smart Plug 3 | Office Printer Plug | The function remains clear after reordering devices. |
| Bulb | Bedroom Bedside Lamp | The target is distinct from ceiling lights. |
| Sensor 8F2A | Kitchen Sink Leak Sensor | The alert immediately identifies where to check. |
| Living Room Light 1 / 2 | Living Room East Lamp / West Lamp | Position is easier to remember than an arbitrary number. |
| Door | Back Door Lock | The action and location are unambiguous. |
| New Thermostat | Upstairs Thermostat | “New” stops being useful over time. |
Six rules that prevent voice-command collisions
- Give every independently controlled item a unique name. Two devices called “Lamp” invite the assistant—or the person—to guess.
- Use words people already say. A technically perfect label fails if no one remembers it.
- Do not repeat group names as device names. If “Kitchen Lights” is a group, avoid giving one bulb that exact name.
- Avoid action words as nouns. Names such as “Turn Off” or “Lock” can make spoken commands confusing.
- Prefer stable positions or functions. “Desk Lamp” usually ages better than “Lamp 2.”
- Test similar-sounding names aloud. “Hall Light” and “All Lights” may look different but sound too close in a noisy room.
Rooms and zones can shorten spoken commands, but do not assume every platform resolves context identically. Apple documents that rooms can be grouped into a zone for commands such as controlling downstairs lights, while Google and Home Assistant expose their own room or area models. Test the actual phrase on every assistant the household uses.
Rename safely: one room at a time
A rename can affect dashboards, routines, scripts, voice exposure, and family habits. Treat it as a small migration rather than a cosmetic edit.
- Export or photograph the current device list and note the last-known working names.
- List automations, scenes, groups, and external services that use each device.
- Choose final room vocabulary before changing individual devices.
- Rename one room’s devices in the platform that originally manages them.
- Wait for connected assistants or bridges to synchronize; use their documented refresh or relink process only if required.
- Update rooms, areas, groups, dashboards, and spoken aliases.
- Test physical control, app control, voice commands, and at least one automation.
- Keep the old-to-new mapping until the room has worked normally for several days.
Home Assistant notes that deleting an area removes that assignment from its devices and can break automations, scripts, or voice-assistant targets that used the area. Renaming and reorganizing are safer when you inspect dependencies first rather than deleting and rebuilding the structure.
Match software names to physical labels
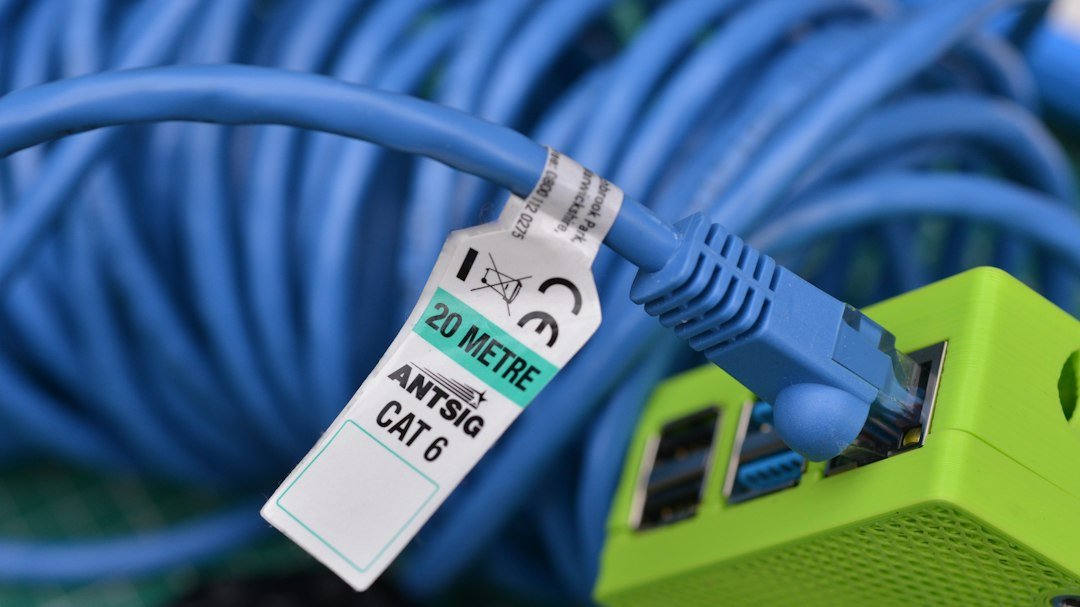
Small labels are most useful on hubs, bridges, power adapters, Ethernet cables, and identical sensors. Use the stable inventory identity, the room, and a short function. For example:
- LR-HUB-01 — Living Room Lighting Hub
- OFFICE-PLUG-PRINTER-01 — Printer Plug
- KITCHEN-LEAK-SINK-01 — Sink Leak Sensor
Keep a separate inventory with the exact model, serial number, purchase date, account owner, support link, battery type, and reset instructions. Our smart-home privacy audit includes a worksheet that can hold those details without exposing credentials.
Use areas, floors, labels, and categories for different jobs
Home Assistant’s current documentation distinguishes several organizational tools. Areas represent physical spaces; floors group areas; labels can group elements across location or type; and categories organize items within settings tables. A device assigned to an area passes that area to its entities by default, although individual entities can override it. See the official pages for grouping assets and labels.
| Need | Better tool | Example |
|---|---|---|
| Where is it? | Room or area | Kitchen |
| Which level? | Floor or zone | Upstairs |
| What operational group crosses rooms? | Label | Battery Device |
| Which devices act together? | Group, scene, or automation target | Downstairs Lights |
| What is the exact hardware? | Inventory identity | LR-LAMP-EAST-01 |
This separation keeps the visible name readable. You do not need to squeeze the floor, protocol, battery type, manufacturer, and automation role into one spoken phrase.
A 20-minute naming worksheet
| Current name | Room | Function or position | Final display name | Spoken phrase | Dependencies checked? |
|---|---|---|---|---|---|
| Plug 3 | Office | Printer power | Office Printer Plug | Printer Plug | Routine, energy dashboard |
| Light 2 | Living Room | East table | Living Room East Lamp | East Lamp | Scene, voice group |
| Sensor | Kitchen | Under sink | Kitchen Sink Leak Sensor | Sink Leak Sensor | Alert automation |
After the rename, say the five commands the household uses most. Then test an automation, a dashboard control, and a failure alert. If one path breaks, use the old-to-new map to restore the previous name while you inspect the dependency.
Related HomeTechPulse guides
- How to Start a Smart Home in One Room
- 5 Simple Smart Home Automations with Clear Stop Rules
- Home Assistant Automation Not Working?
- Smart Home Reconnection Checklist
Sources and scope
Official documentation reviewed September 30, 2026: Google Nest Help for changing a device name and organizing connected devices; Apple Support for rooms and zones in Home; and Home Assistant documentation for organization, areas, and labels. Interface labels and synchronization behavior can change, so confirm the instructions for the current app and exact device. This is a documented workflow, not a hands-on product test.